Pages

Showing posts with label Tech 2021. Show all posts

Thursday, 18 November 2021

Making Mask! (Hard Materials)

 Today in my tech class it was SO MUCH FUN! We made mask. Well we did our templates of it. I have to say that this tech class has been my favourite out of all. It was not only super fun, but we also did some jokes as usual and talked with each other. Now I did 5 masks. I did get some help from google. The pictures are at the bottom. Anyways I also got some compliments for my mask from Kiarah. She also did a great job and also Finau.I think Finau was doing a pizza mask and Kiarah was doing animal based. Anyways I really hope that Mr Grundy will be able to send the foam part to actually make the mask. If we do get the foam for the mask I will make it and put it on, but for now just bare with the designs. I know they look small,but they do fit.Also my favourite is the one that looks like a bird. Which is the first picture. I also just want to thank M r Grundy for always making our classes fun. Also Finau and Kiarah as well as Miss Setefano. That is all for my tech class. I ope you enjoy my designs, I plan to do. Remember to STAY SAFE!


Thursday, 4 November 2021

THE FUTURE OF SHOES!

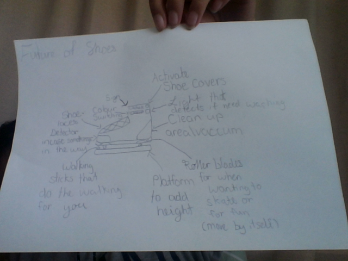
 For tech today we got to think about the future. What I mean is that Mr Grundy told me and the class to think about a item. Like a machine, something you wear and even food. Anyways we had to think or something, but instead of thinking about it now we had to add things to it. What I mean is think into the future of it. I choose shoes. Let me tell you, it was quite hard to think of something, but I managed. Here is what I did and the design. I know that it isn't clear but its there for you guys to see it. I hope that you enjoy my work and design. By the way as I always say I'm not the best drawer. Anyways I hope you enjoy my work and remember to STAY SAFE!

THE FUTURE OF SHOES 

Can clean messes (Have a little compartment at the back can detach it to empty it out)

Activate shoe covers for when stepping in something that could make the shoe dirty 

Tell you when it needs to be washed with a little light (Red being need to clean, Yellow/Orange for when dirty and green for just fine)

Add platforms If you wanted to look taller

Connect it to your phone to see the steps you’ve done 

Can switch colours for specific occasions

Roller blades or mental sticks that do the walking,running and jogger for you (compartment)

Motion detector for when sometimes in your way to pass it before an injury happens 


The picture isn’t that clear, but here is the design. 


Thursday, 21 October 2021

First tech session of the term!

Yayy! Finally tech is back on. I had just had my first session for the term. It was exciting to see Mr Grundy back and learn more about wood joints. Today we learned about different kinds of wood joints. Such as the housing joint which was the first joint I ever learnt and also some new joints, like a Mitre joint. I really enjoyed doing this task because I got to learn some new things.  We also got to do our usual joke time at the end of the lesson. It was hilarious with Mr Grundy and Miss Hill. Anyways I hope that you enjoy and learn something new. Remember to STAY SAFE!


Make a copy of this doc,  Name it YournameJoints and share it with

me (grundy@tamaki.ac.nz)


Wood Joints


The simplest and easiest joint to make is a Butt joint where

two pieces 

of wood are just glued or nailed together.

It is not very strong and can be pulled apart without too much

effort. 

 It is commonly used in house framing.


Here are some useful ways of joining wooden pieces together

]that are used In woodwork and carpentry.

joints - Construction Studies

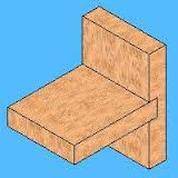
1. Housing joint.


a) Find a clear picture of this joint and insert it here.


b) What are housing joints most commonly used for?

Housing joints are used for many things. Those things include

fixing a bookcase or shelves.


c) Are there different kinds of housing joints?  

Can you include pictures of them?

       Yes, they are called a stopped housing joint,through housing

joint,tapered housing joint and a tapered stopping joint. 


d) Can you find a housing joint anywhere in your house?

yes
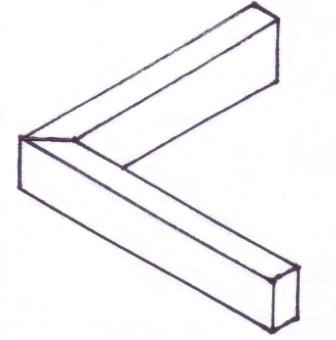


Woodwork - Mitre Joint information and Pictures

2. Mitre joint.


a) Find a clear picture of this joint and insert it here.


b) What are mitre joints most commonly used for?

       Mitre joints are used for many things that we use as well.

Such as frames,doors,windows, furniture and much more 

c) Mitre joints are not very strong, how can they be made stronger?

 Well to make a mitre joint stronger there are some techniques.

The first one is to have a woodworking glue, which you are

brushing glue sizing onto it. Another one is to 

d) Can you find a mitre joint anywhere in your house?


yes

3. Finger joint.  (Also commonly called a Box Joint)Timber Finger Joints | Timber Comb Joints | Making Box Joints | DIY Doctor
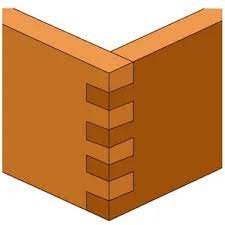

a) Find a clear picture of this joint and insert it here.


b) What are finger joints most commonly used for?

The finger joint can be used in a way to make long pieces of

lumber from solid boards.Not only that, but it is also used to create baseboards,floors boards and more.


c) What makes the finger joint so strong?

What makes a finger joint stronger is that the cross-section of

the joint locks into each other like  fingers between two hands.


d) Can you find a finger joint anywhere in your house?

no
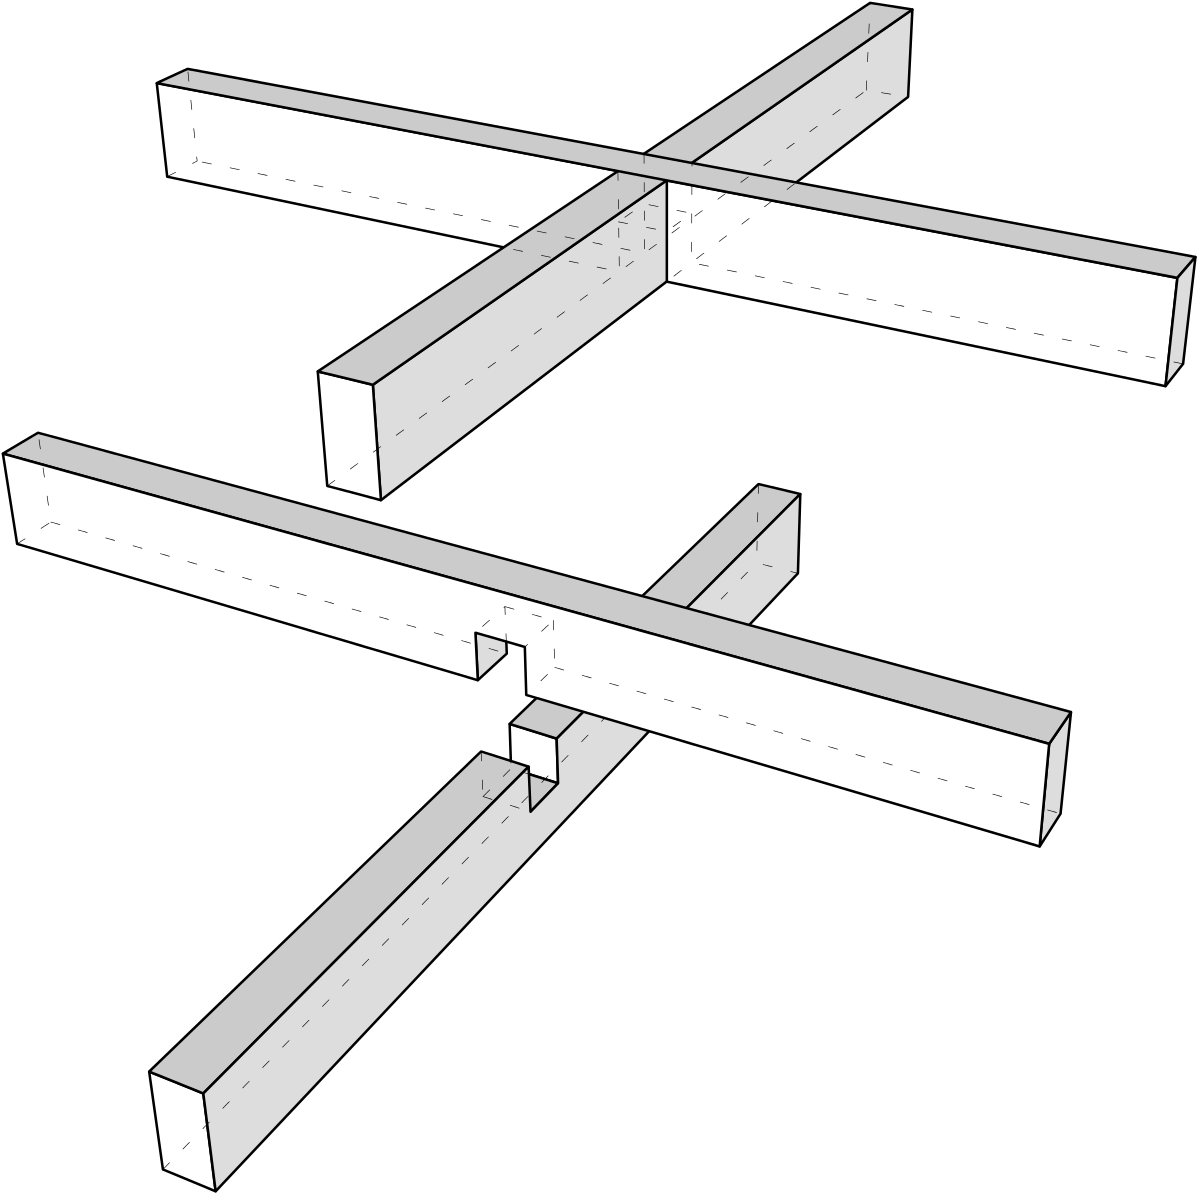
Halved joint - Wikipedia

4. Halving joint.


a) Find a clear picture of this joint and insert it here.


b) What are halving joints most commonly used for?

Halving joints are used when the pieces of wood have to go

over each other. It can even help to make your chair stronger.

c) What makes the halving joint so strong?

Halving joints are made much stronger because of the fact that

the timbers are connected and will help to evenly spread any

downward forces that are applied due to the additional

mechanical strength.

d) Can you find a halving joint anywhere in your house?

no
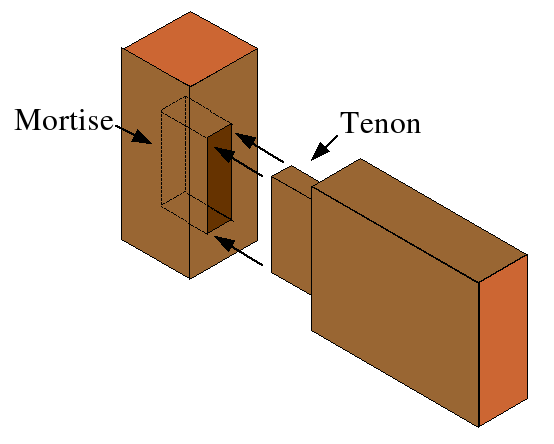
What is a mortise and tenon joint? - Quora

5. Mortise and Tenon joint.


a) Find a clear picture of this joint and insert it here.


b) What are Mortise and Tenon joints most commonly used

for?

They are commonly used for projects. Projects which included

a frame to make it stronger. Normal things like chairs and tables

use them as well.

c) What makes the Mortise and Tenon joint so strong?

A mortise and tenon joint is strong because of its flush fitting

design.The double tenons are exactly as they sound being two

tenons next to each other which create an even stronger joint.

d) Can you find a Mortise and Tenon joint anywhere in your

house?

no


Thursday, 30 September 2021

LAST SESSION FOR THE TERM FOR TECH!

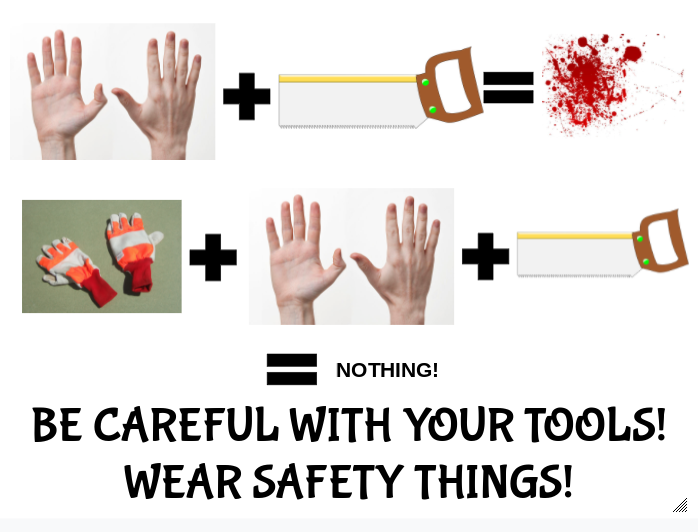
 Today was the last session of tech for the TERM! It was really fun and cool. We also did some awesome learning. We did some funny jokes at the end and they were really funny. What we did for tech today was that we answered some questions. I also did 2 poster for hard materials, that have something related to the workshop. I hope that you learn something and THANK YOU SO MUCH MR GRUNDY. Remember to STAY SAFE! 


Make a copy of this doc.  Name it  “YournameSafety”  Share it with me. (grundy@tamaki.ac.nz)


(Remember, when researching online, we are considering “wood hand tools”.)


1. Consider the hand tools that you may use in the woodwork shop.

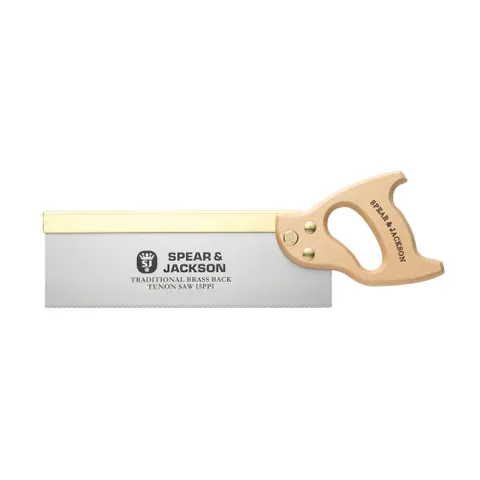
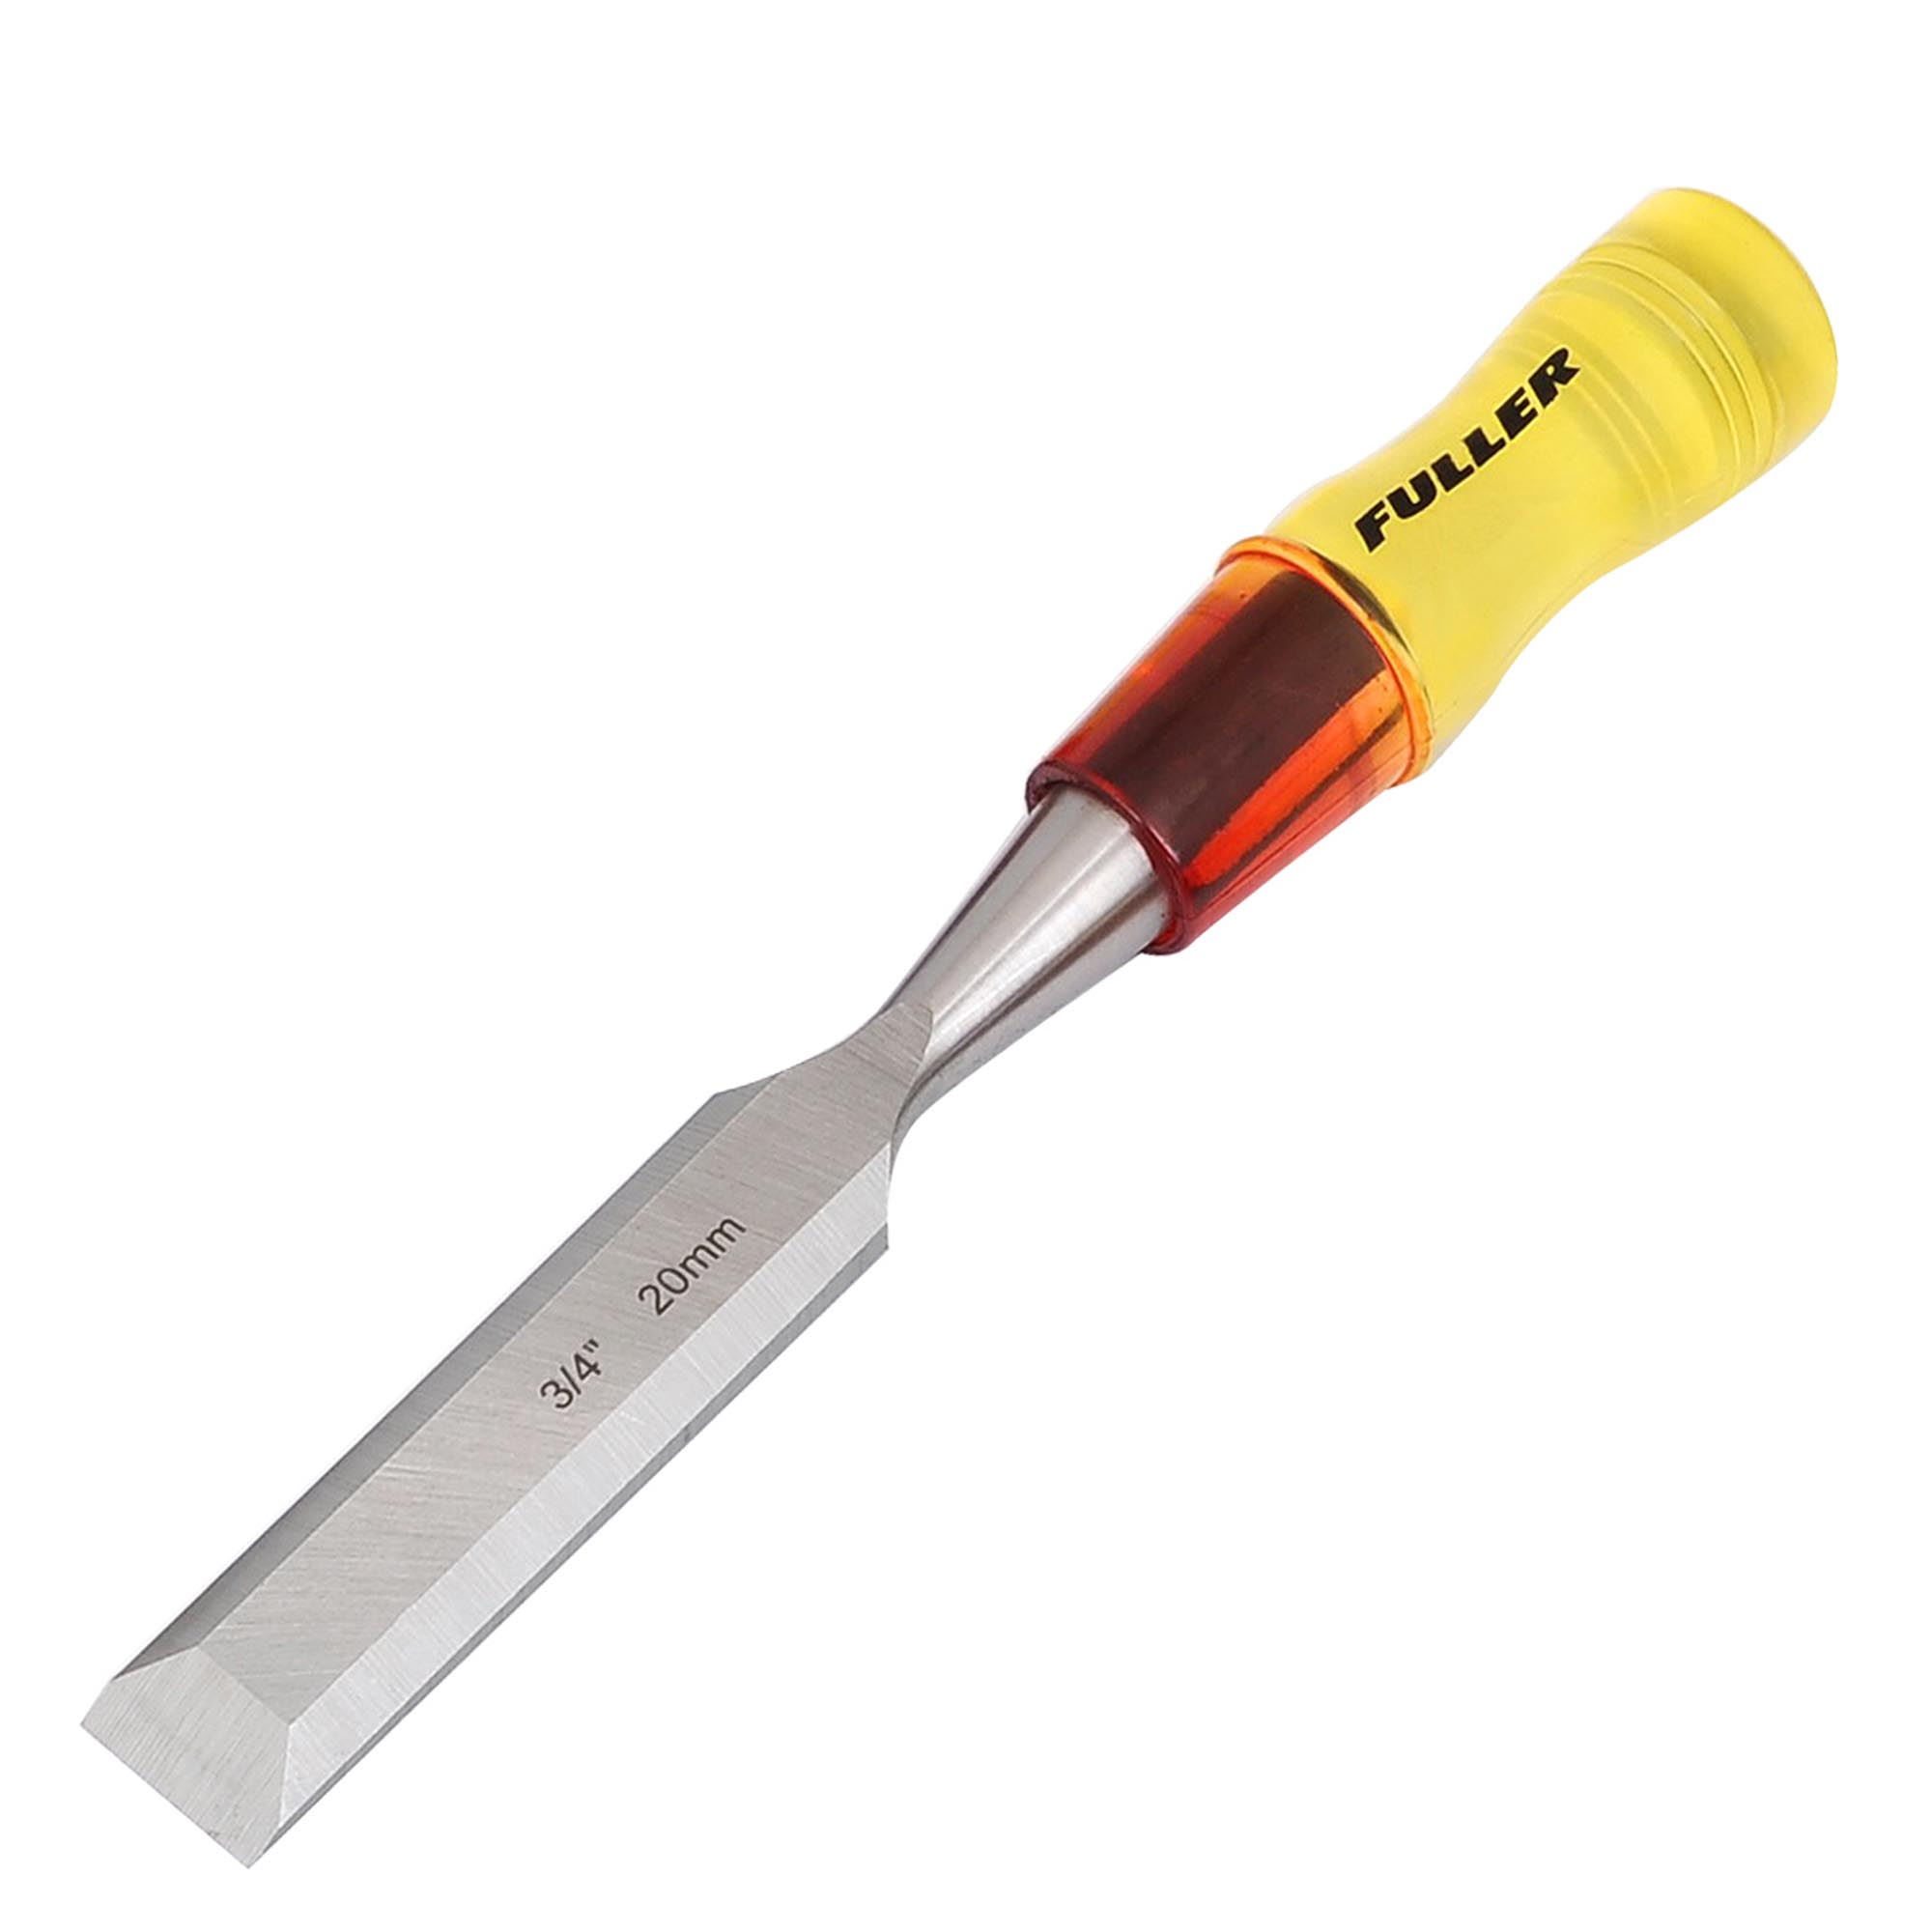
*The hand tools I might consider using from the wood shop are things like a chisel. Also a Back Saw and a Mallet to mark out the line I want. 

2. Consider how they are used accurately and safely.

* A Back Saw is used accurately if you use the point grip. Which is when you're holding it with your index finger pointing as if it has a gun in the hand. Also by sawing the piece of wood straight. For the chisel it is better to chip it underwards and not downwards. Also by not starting off trying to get the whole thing out, but just to take some pieces out at a time.Lastly for my Mallet the push it down to the wood and make sure that the line is straight and having the pin side to the wood.

3. How should they be stored to be sure that they are in good condition?

*FIrst of all, check it. To see if it has dents or some pieces that are missing/broken parts.

4. Think about the way we should behave in a busy workshop to keep safe.

*The way we should behave in a workshop is by being very steady with things. To be careful with our tools.Also to just be responsible with the tools and when using it.

5. Can you imagine a situation that could result in an accident?

*When you are not concentrating on what you are doing with the tool. Or being distracted easily by                             your friends. Another one is when you and your friend/s decided to hit each other with the tool.

6. Produce a short list of “Safety Rules” that we could display in the workshop to remind us of safe working habits.  

*Remember to concentrate on what your doing

*Remember not to hit people with the tools

*Use the tools correctly

*Be quite, not noisy 

*BE CAREFUL!


7. Design a “Safety Poster” that could be displayed in the workshop.


Thursday, 23 September 2021

Hard Materials Task!

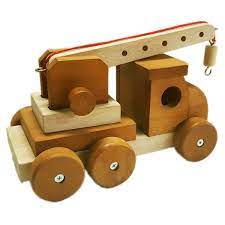
 Today in our tech lesson we got to do something fun at the beginning. We got to do the test to see if we remembered the basic wood tools. Now its not your average test it was like a game with a score. I got 9/9, oh and did I mention we had to do this in under 2 minutes. The second was quite challenging because we had to do the same thing, but in a pac-man way. After that we had to do our task which was to find a photo and recreate it, but with google drawings. I did a 2 different types of tow trucks. This was really fun and as always this really made me wish that I was actually in the work shop. Anyways I can;t wait for the last session next week for the term. Always remember to STAY SAFE!

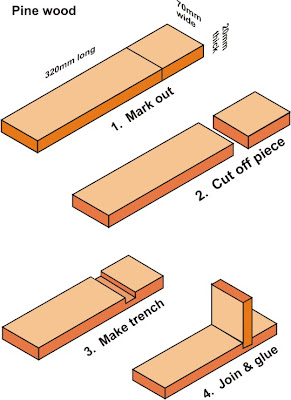
Make a copy of this doc, Name it, YournameDesign and share it with me.  (grundy@tamaki.ac.nz)

Remember, only the joint is made from the first piece of

wood!  After the joint is made we will provide any

extra pieces that you may need.


How will it go together?    Which way up?  Will you make

the trench for the joint in the short piece or the long piece?How many Joints?

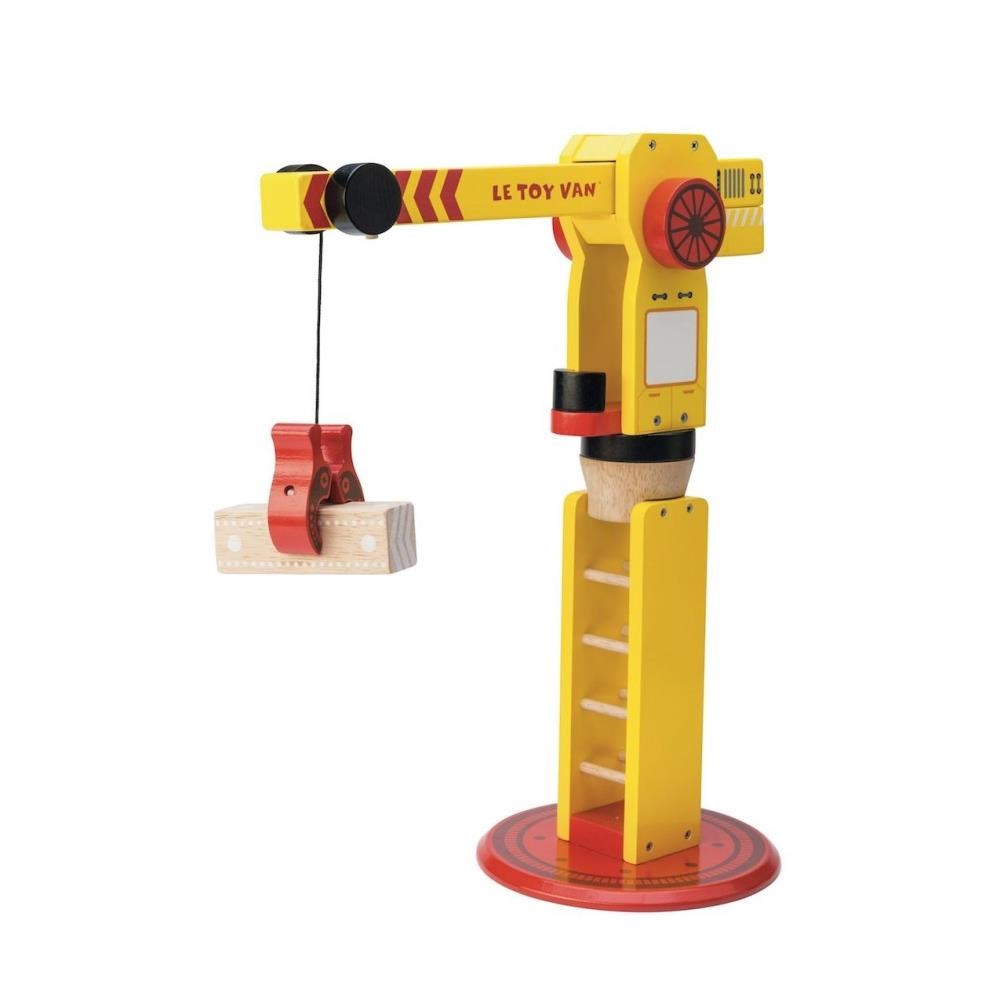
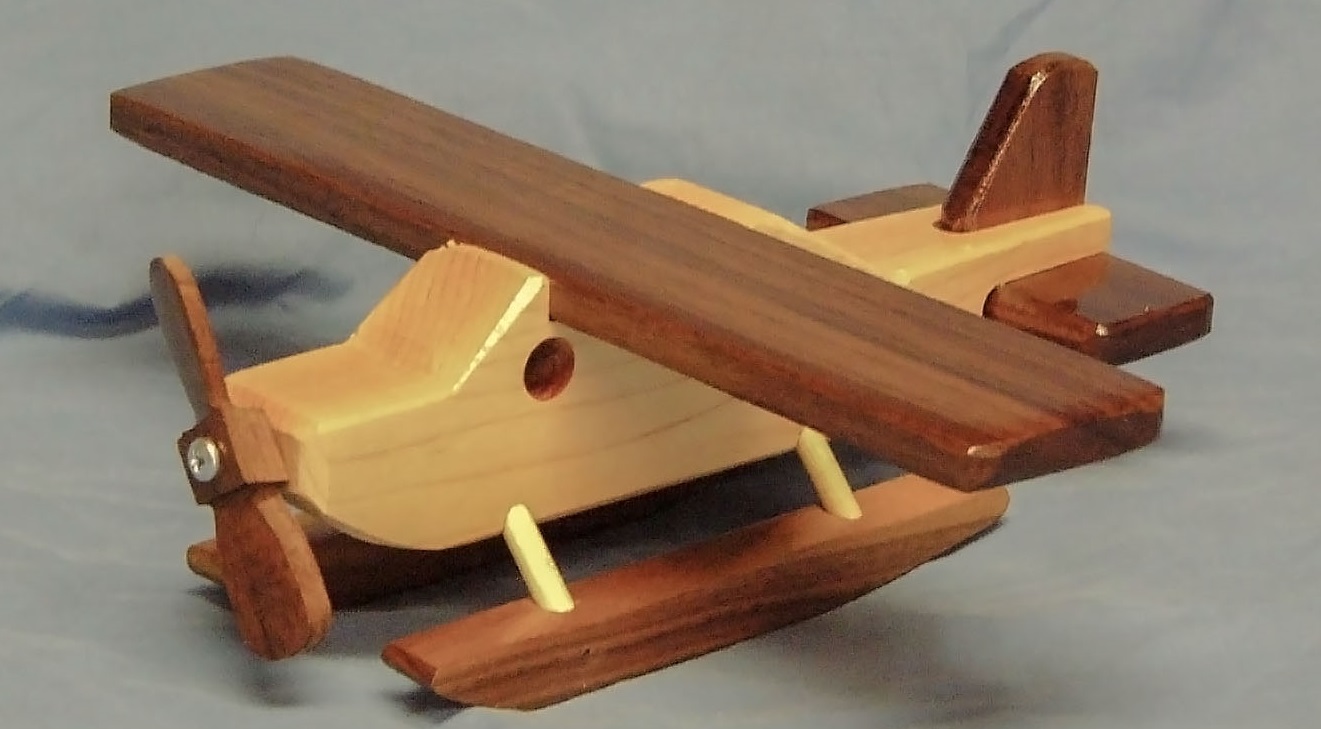
These are some ideas that I found on an image search

for “Wooden toys” on GOOGLE.  They are all ideas

that I believe that I could adapt the design to make a

similar item using the housing joint that we will start

with.


Open a Google image search for “WOODEN TOYS”,

or any topic that you think might produce images that

you could possibly adapt to use the housing joint to

make something similar.


School bus


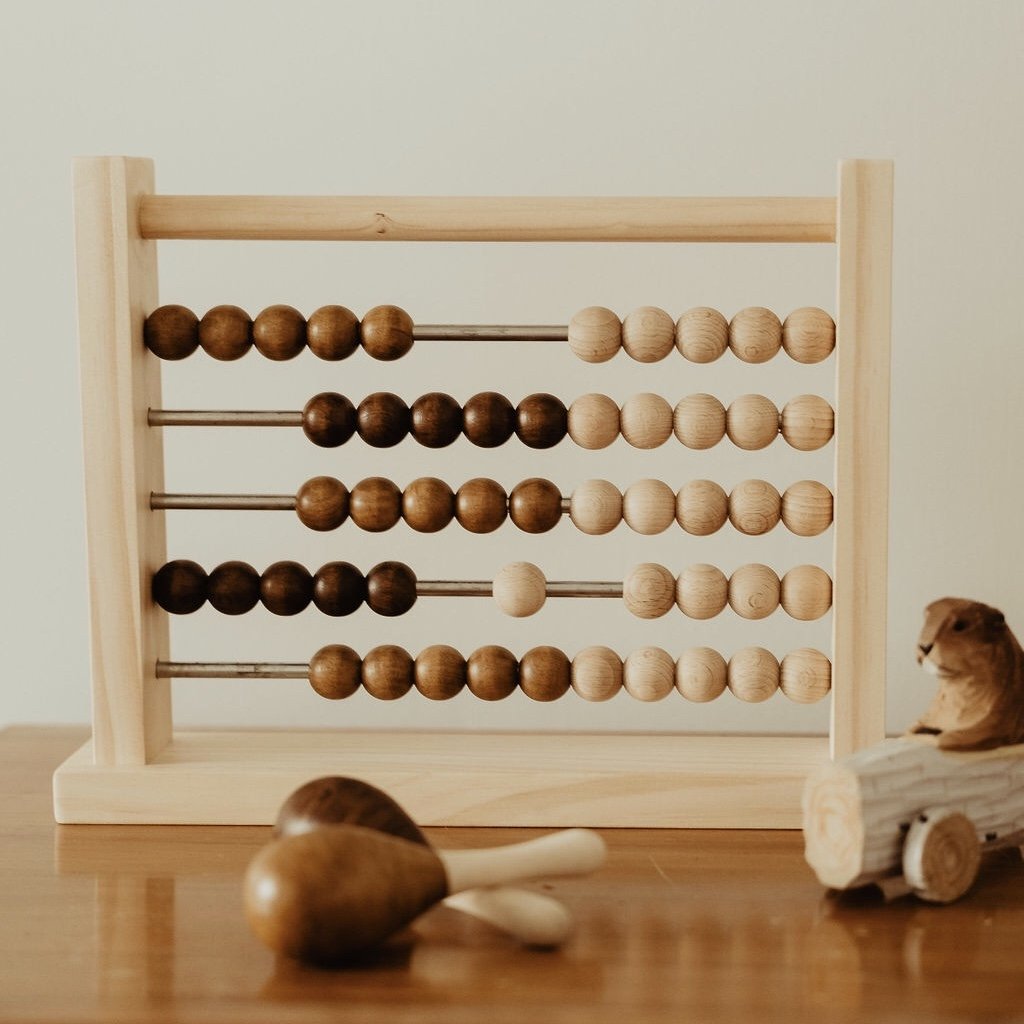
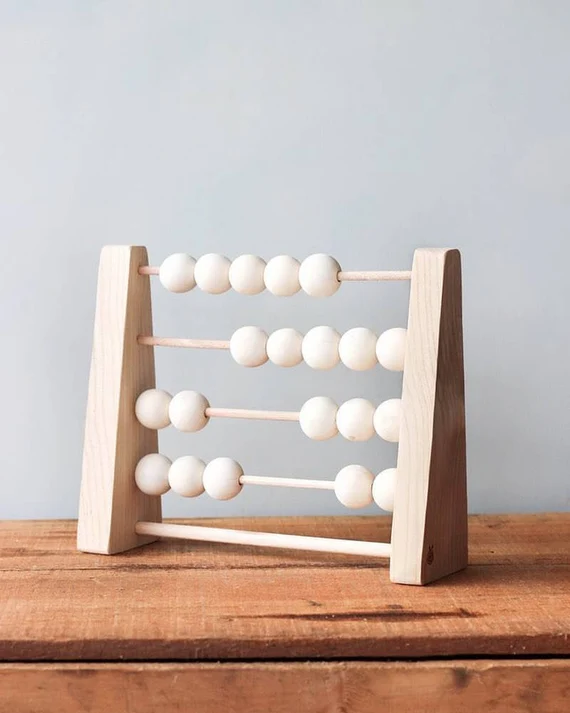
Toy abacus


Q Toys Wooden Crane - Monkey Kids


Wood Wood Toys - Canada's Eco-Friendly, Economical Toy Store

My designs 


Thursday, 16 September 2021

Wood Tools!

 Today in our google meet for tech we were learning about the wood tools. What I mean is that Mr Grundy gave us a doc to fill in about questions about wood tools. Yes, we did have videos to watch, which I was so grateful for. Anyways, here is the activity and I have to say every time we do these task it makes me actually want to be there. I can't wait for lock down to be OVER so I can start doing my project. Which I can't seem to choose. Remember to STAY SAFE and HAPPY MAORI LANGUAGE WEEK!


Wood tools


Make a copy of this document, name it “Yourname tools” (eg, SioneTools) and share it with me. (grundy@tamaki.ac.nz)


Section One. The Tri square


2


    1   Watch the video in the link below and answer the questions that follow.

https://www.youtube.com/watch?v=lnrXEi9_F3M


Q1. In woodwork, the word “square” means at an angle of how many degrees?

Answer.     90 degrees from each other 


Q2.  Name the two main parts of the tri square.

Answers. !. Stock. 2,  Blade.


Q3.  Why is it so important to hold the tri square tight against the side of the wood when marking?

Answer.   It is important because if you don't then the line will be drawn cricket and you won’t get the exact angle of 90 degrees!


Section Two.


The Backed saw.

(Often referred to as the Tenon Saw)


Watch the video in the link below and answer the

questions that follow.

 (This video refers to a similar sort of joint.)


https://www.youtube.com/watch?v=7YzzKRB7Y_E


Q1,  Holding the saw with your first finger pointing forward on the handle is called?

Answer. The Pistol grip


Q2.  The back corner of the saw blade is called the Heel and the front corner is called the Toe


Q3.  The wood that we remove to form the trench of a joint is called the waste wood.  Why is it so important to make the sawcut on the waste wood side of the line?

Answer.  Why is because if we don’t cut it on the waste wood side, then our joint would be a loose joint.


Section Three.


The Chisel

Watch the video in the link below and answer the

questions that follow.

 (This video refers to a similar sort of joint.)


https://www.youtube.com/watch?v=fowuBaqYQFY


Q1,  To chisel out the trench the workpiece must be held firmly in a Vice.


Q2,  The chisel is used together with a  Mallet  cutting uphill toward the centre from each side. 


Q3,  We never angle the chisel in a Downwards. direction when removing waste wood.


Q3,  When using a chisel we always keep both hands where?

Answer.  


Section Four.

The Marking gauge

Watch the video in the link below and note how the

 marking gauge is used to mark the depth of the trench.


https://www.youtube.com/watch?v=AfKbYcS4RXo


This video shows a housing joint the same  as the 

one that you will make for your project.


Last question!


Why do you think that we mark the depth of the trench with a marking gauge that makes a groove in the wood and not with a pencil line?

Answer.  Because when using a marking gauge you can feel it when you get to the point. When you use a pencil line you don't know when it ends.