Pages

Showing posts with label Tech at Tamaki. Show all posts

Thursday, 16 September 2021

Wood Tools!

 Today in our google meet for tech we were learning about the wood tools. What I mean is that Mr Grundy gave us a doc to fill in about questions about wood tools. Yes, we did have videos to watch, which I was so grateful for. Anyways, here is the activity and I have to say every time we do these task it makes me actually want to be there. I can't wait for lock down to be OVER so I can start doing my project. Which I can't seem to choose. Remember to STAY SAFE and HAPPY MAORI LANGUAGE WEEK!


Wood tools


Make a copy of this document, name it “Yourname tools” (eg, SioneTools) and share it with me. (grundy@tamaki.ac.nz)


Section One. The Tri square


2


    1   Watch the video in the link below and answer the questions that follow.

https://www.youtube.com/watch?v=lnrXEi9_F3M


Q1. In woodwork, the word “square” means at an angle of how many degrees?

Answer.     90 degrees from each other 


Q2.  Name the two main parts of the tri square.

Answers. !. Stock. 2,  Blade.


Q3.  Why is it so important to hold the tri square tight against the side of the wood when marking?

Answer.   It is important because if you don't then the line will be drawn cricket and you won’t get the exact angle of 90 degrees!

Section Two.


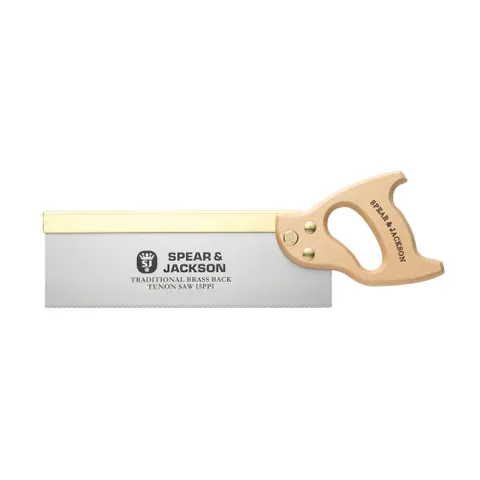
The Backed saw.

(Often referred to as the Tenon Saw)


Watch the video in the link below and answer the

questions that follow.

 (This video refers to a similar sort of joint.)


https://www.youtube.com/watch?v=7YzzKRB7Y_E


Q1,  Holding the saw with your first finger pointing forward on the handle is called?

Answer. The Pistol grip


Q2.  The back corner of the saw blade is called the Heel and the front corner is called the Toe


Q3.  The wood that we remove to form the trench of a joint is called the waste wood.  Why is it so important to make the sawcut on the waste wood side of the line?

Answer.  Why is because if we don’t cut it on the waste wood side, then our joint would be a loose joint.


Section Three.
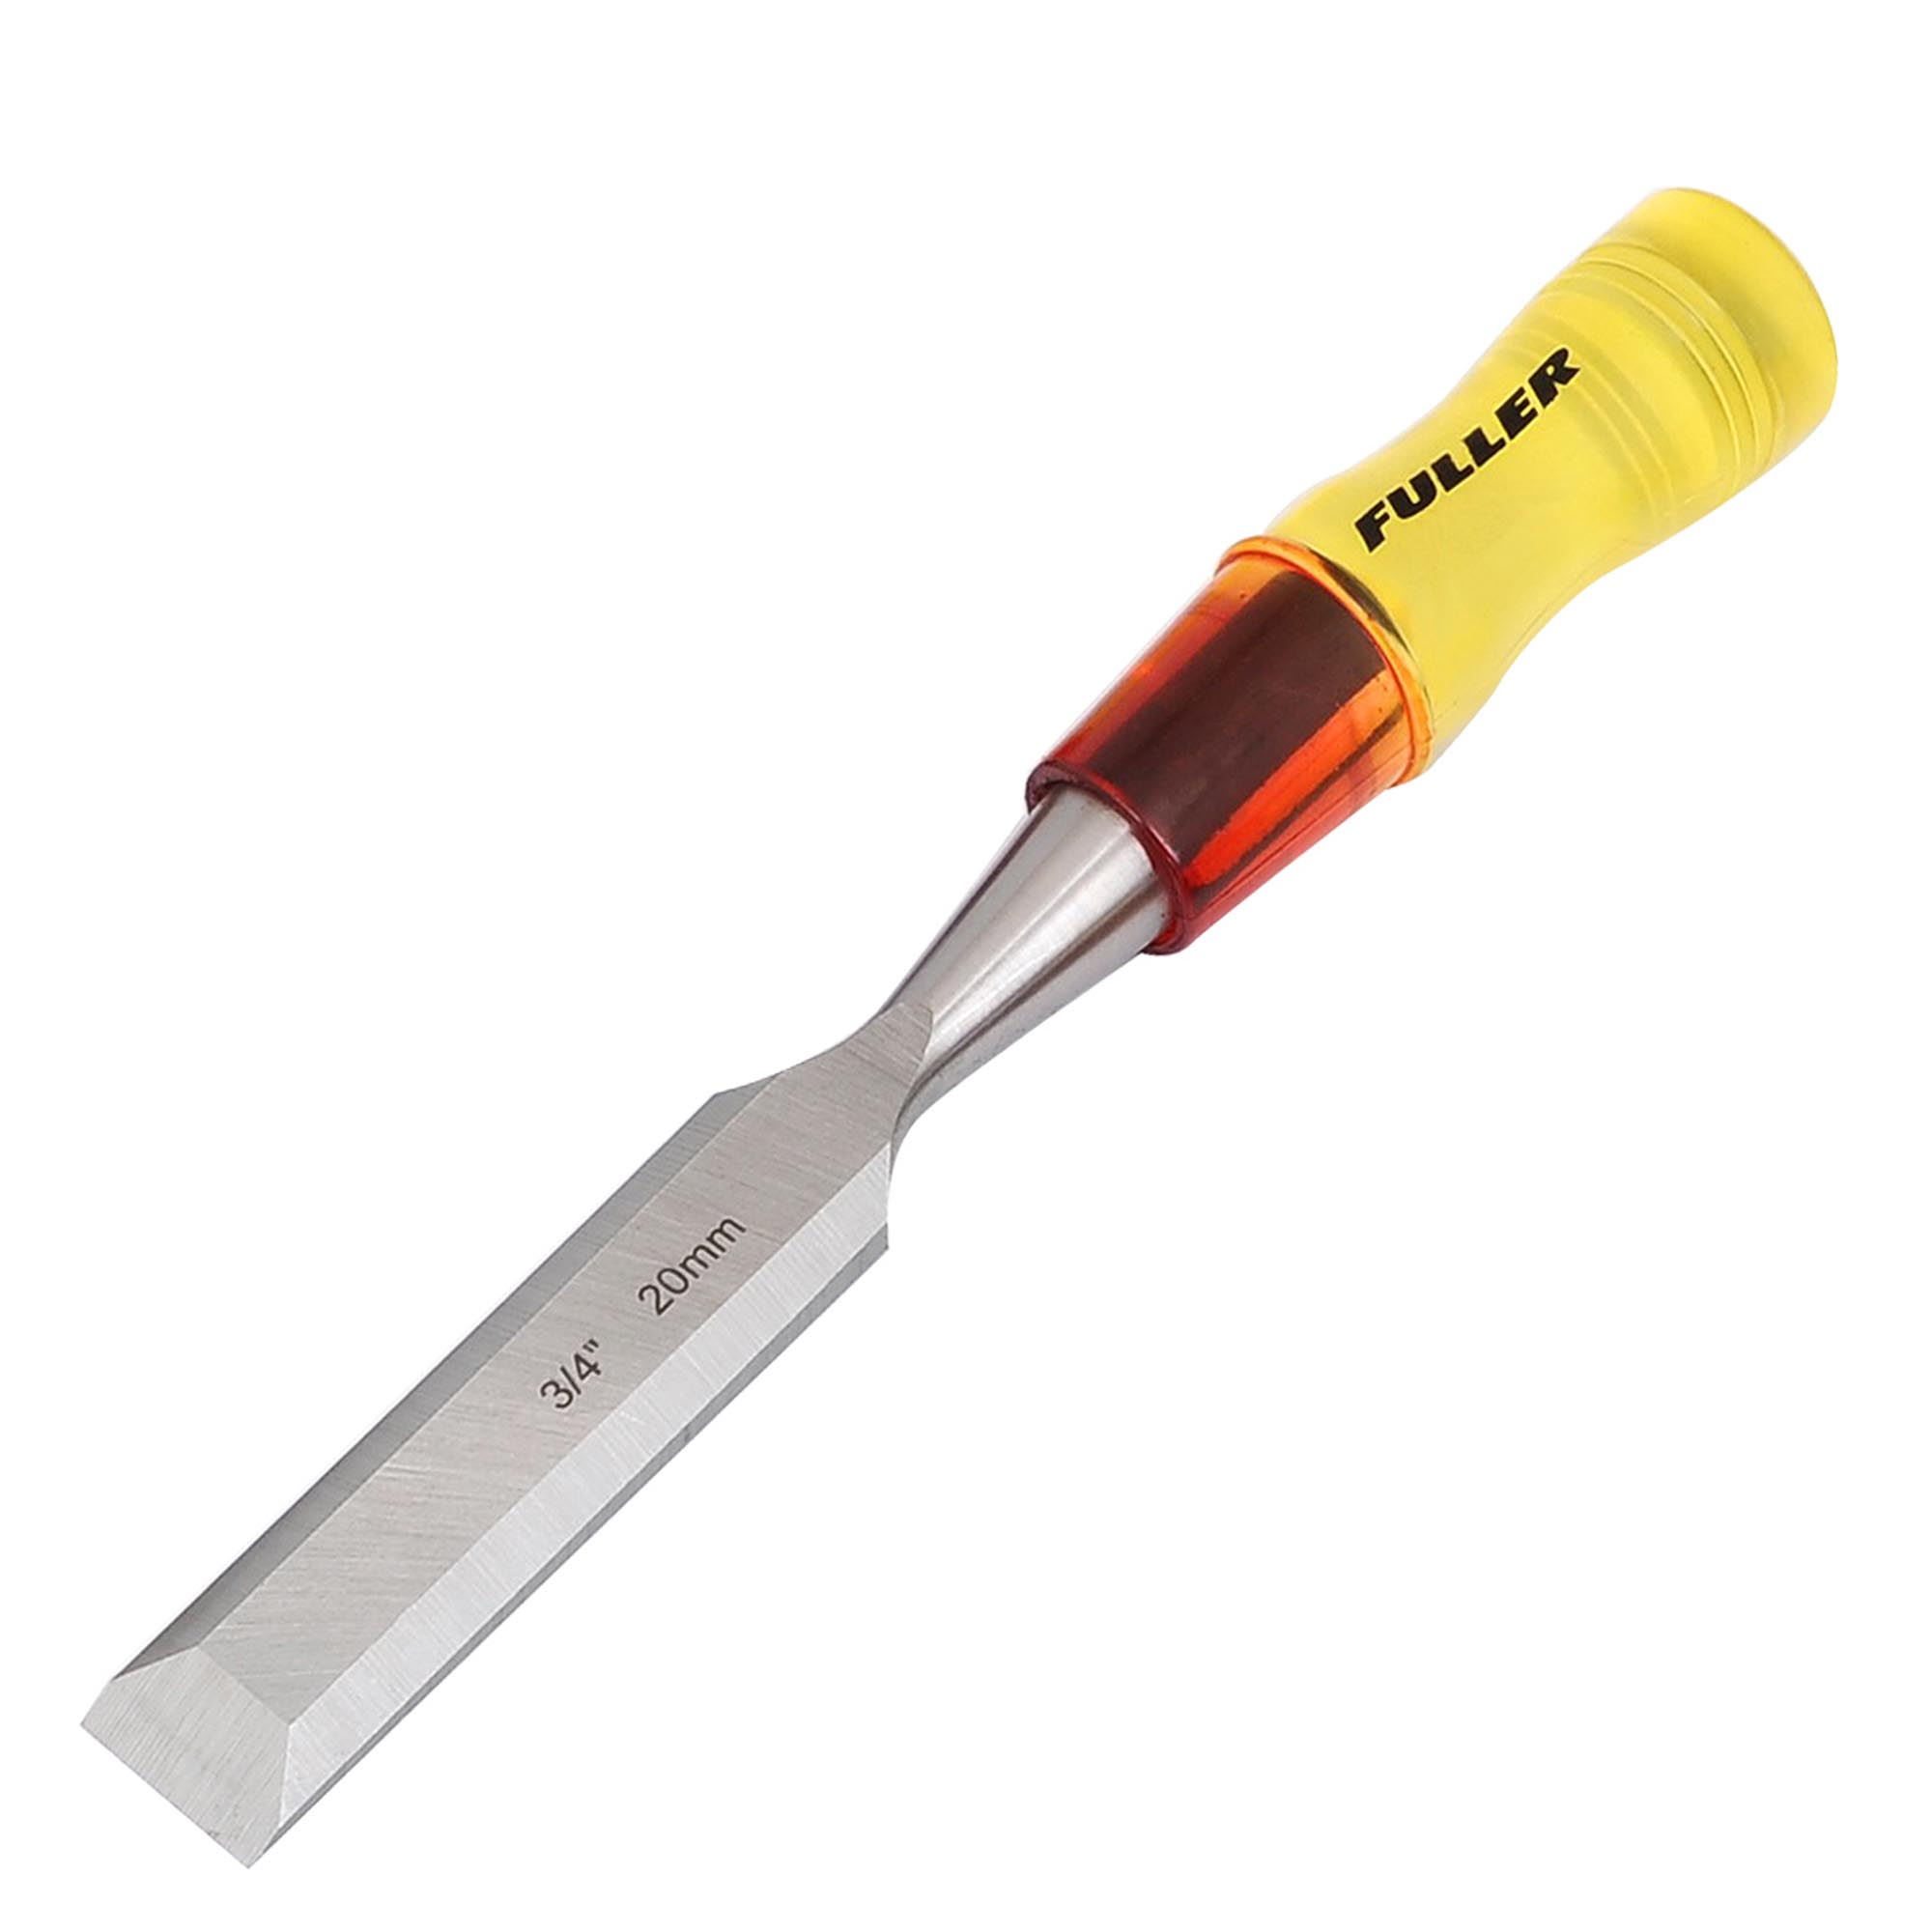
  

The Chisel

Watch the video in the link below and answer the

questions that follow.

 (This video refers to a similar sort of joint.)


https://www.youtube.com/watch?v=fowuBaqYQFY


Q1,  To chisel out the trench the workpiece must be held firmly in a Vice.


Q2,  The chisel is used together with a  Mallet  cutting uphill toward the centre from each side. 


Q3,  We never angle the chisel in a Downwards. direction when removing waste wood.


Q3,  When using a chisel we always keep both hands where?

Answer.  


Section Four.

The Marking gauge

Watch the video in the link below and note how the

 marking gauge is used to mark the depth of the trench.


https://www.youtube.com/watch?v=AfKbYcS4RXo


This video shows a housing joint the same  as the 

one that you will make for your project.


Last question!


Why do you think that we mark the depth of the trench with a marking gauge that makes a groove in the wood and not with a pencil line?

Answer.  Because when using a marking gauge you can feel it when you get to the point. When you use a pencil line you don't know when it ends. 


Thursday, 2 September 2021

First session with Mr Grundy!

 Today we had our first google meet for our new tech groups. This time  have Mr Grundy who does hard materials. It was good to see him and to know what we were doing this rotation. We learnt about a housing joint and how to make one. We had to watch a video to do that and answer the questions which are down below. I hope that when we get out of lock down we can do this in person. Remember to STAY SAFE!


Intermediates Hard Materials Technology.

“Working from Home”


!.  Make a copy of this document and name it “Your Name” (eg.  Charles Bronson)  Share it with “grundy@tamaki.ac.nz”.   


2.  Watch the Woodwork “How to Video” and answer the following five questions:


a) What is the joint that we will use to join two pieces of wood together called?

Answer :Housing joint 


b) Name the three tools that we use to mark out where we will make cuts in the wood.


1.Ruler


2.Pencil


3.Square


c) When we draw a line “square” to the edge, what angle does it make withe the edge?

Answer: 90 degrees


d) What is a marking gauge used for?

Answer: To see where the line is which shows you where to cut  

e) If your joint is too tight to put together, how do you fix that?

Answer: To fix it you sand it down with some sanding paper 


Thursday, 26 August 2021

Last STEM session!

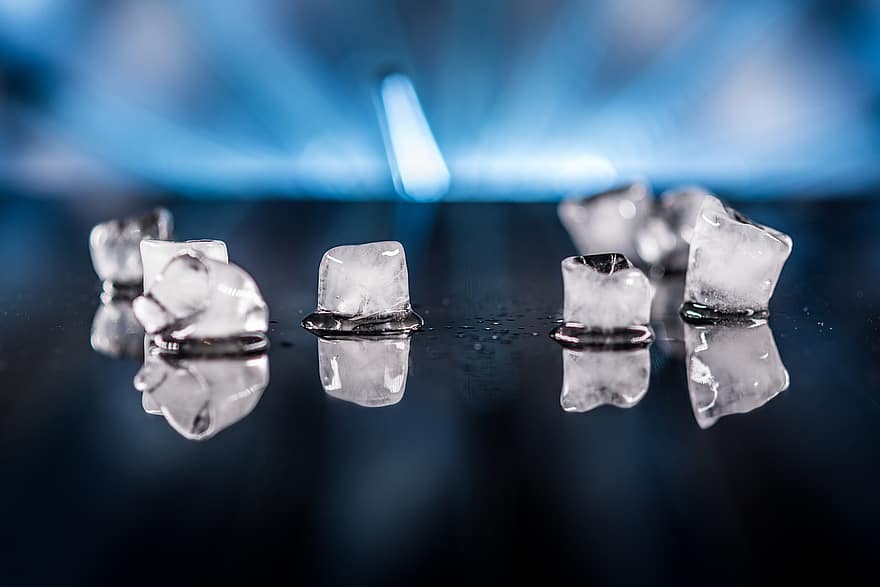
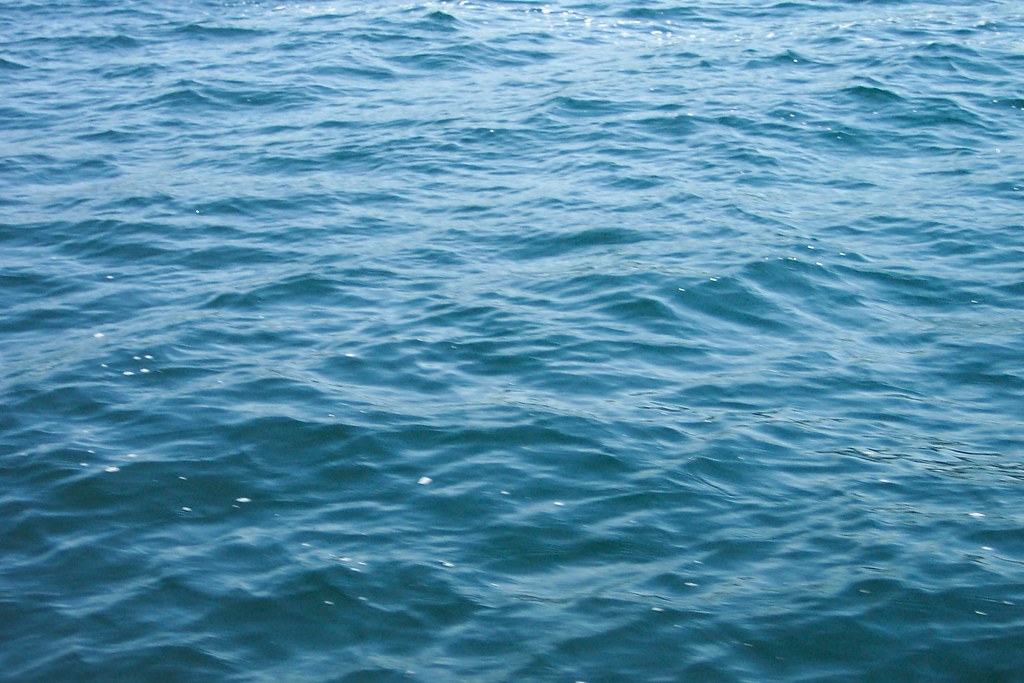
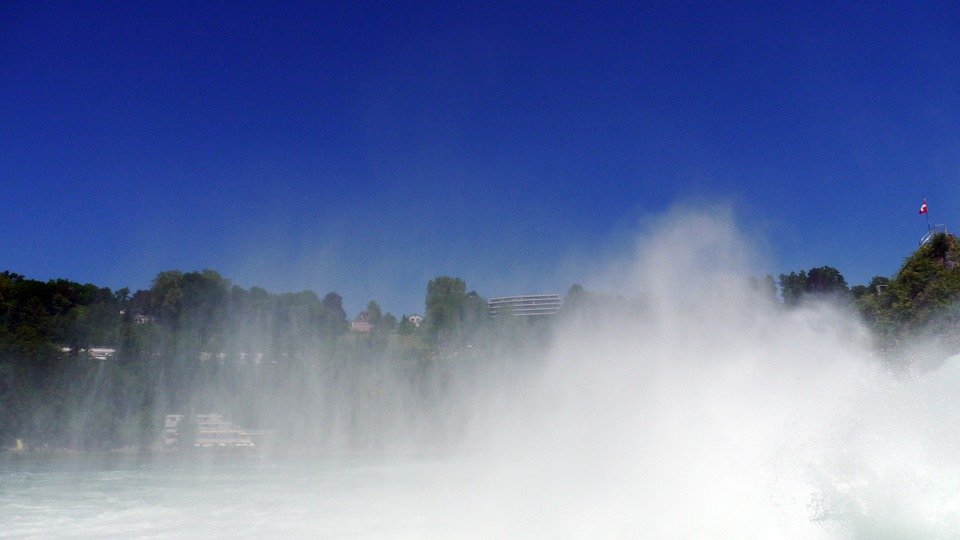
 Today we finally got to see our tech teachers at Tamaki. The sad part was that it was our last session with them, and of course it would have to be through google meets. Even though it was our last session we made the most of it. For the last session we got to learn about the States of Matter. Which are Solids,Liquids and Gases. Below our task were to take photos or get pictures off google. We needed to get 10 solids, 10 liquids and 10 gases. I'm very sad that we had to do our last session through meets. This term being in STEM/Science was AWESOME! I learned new things. My favourite session has to be when we did our heart rate and the pH one. Hopefully my next tech rotation can be just as good as this one. I just want to say a HUGE THANK YOU to MRS SHARMA for teaching me all of these new things. I wish you the best for your next rotation group. Anyways I hope you enjoy this and remember to STAY SAFE!

Topic 10-States of matter


Notes: 

Matter- the substance all things are made of 3 states

   -liquid 

-solid 

-Gas- water vapor

Liquid state takes the shape of whatever you put it in and its volume always stays the same 

Particles are separated and can ,move freely 

Solid state is like a thick shape and volume. Particulars are held together in a organised structures

Gaseous state is the steam that comes out of water vapour. It takes on the 


Solid 

Liquid 

Gas

https://p0.pikist.com/photos/123/370/cube-water-colorful-wet-cubes-ice-cube-the-background-glass-blue.jpg


https://live.staticflickr.com/4066/4344198258_e647f9487b_b.jpg


https://cdn.pixabay.com/photo/2013/06/29/16/17/water-vapor-142089_960_720.jpg


https://upload.wikimedia.org/wikipedia/commons/thumb/3/32/Books-aj.svg_aj_ashton_01f.svg/1155px-Books-aj.svg_aj_ashton_01f.svg.png


https://upload.wikimedia.org/wikipedia/commons/b/b0/English_%26_Hebrew_Coke_labels.jpg


https://cdn.pixabay.com/photo/2018/09/14/10/20/smoke-3676660_960_720.jpg


https://upload.wikimedia.org/wikipedia/commons/thumb/c/cb/Balsa_Wood_Texture.jpg/2048px-Balsa_Wood_Texture.jpg


https://upload.wikimedia.org/wikipedia/commons/a/a5/Glass_of_Milk_%2833657535532%29.jpg


https://upload.wikimedia.org/wikipedia/commons/4/41/Fire.JPG


https://freesvg.org/img/1298512738.png


https://live.staticflickr.com/4124/5096953439_5a41df8055_b.jpg


https://upload.wikimedia.org/wikipedia/commons/9/97/Hot_air_balloons_on_ground.jpg


https://freesvg.org/img/johnny-automatic-pen-1.png


https://freesvg.org/img/blood-clipart.png


https://www.maxpixel.net/static/photo/1x/Bundle-Of-Balloons-Bright-Balloon-Helium-Balloons-3758299.png


https://c1.wallpaperflare.com/preview/510/67/691/lake-dusia-wall-texture-brick.jpg


https://upload.wikimedia.org/wikipedia/commons/4/45/A_small_cup_of_coffee.JPG


https://upload.wikimedia.org/wikipedia/commons/thumb/7/79/Oxygen_symbol.svg/2048px-Oxygen_symbol.svg.png


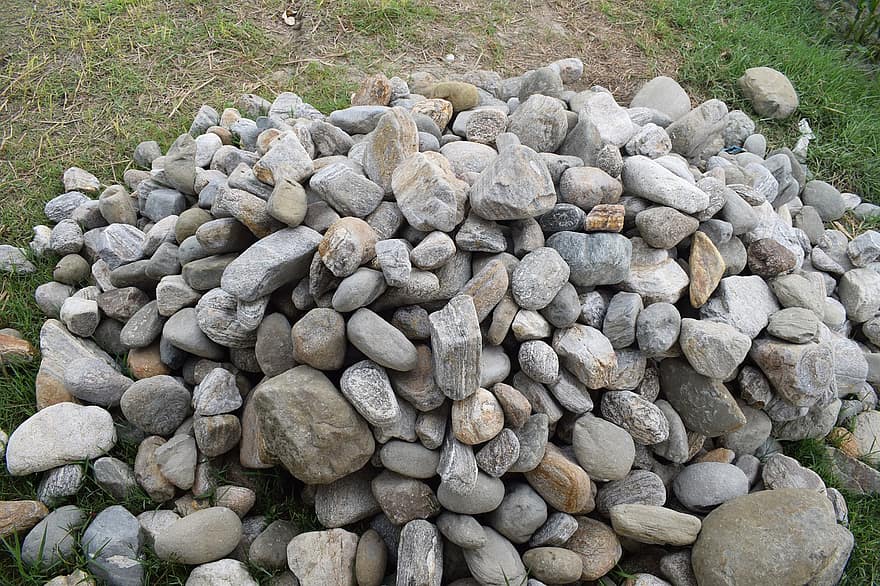
https://p0.pikist.com/photos/71/187/stone-group-of-stone-hierarchy-stones-landscape-rock-figure-plumage-employee.jpg


https://upload.wikimedia.org/wikipedia/commons/1/1a/Lipton-mug-tea.jpg


https://upload.wikimedia.org/wikipedia/commons/2/26/Co2_carbon_dioxide_icon.png


https://upload.wikimedia.org/wikipedia/commons/e/e6/Steel-Dowel-Pins.jpg


https://upload.wikimedia.org/wikipedia/commons/c/c9/Urine_sample.JPG


https://upload.wikimedia.org/wikipedia/commons/8/83/Nitrogen_Tile.png


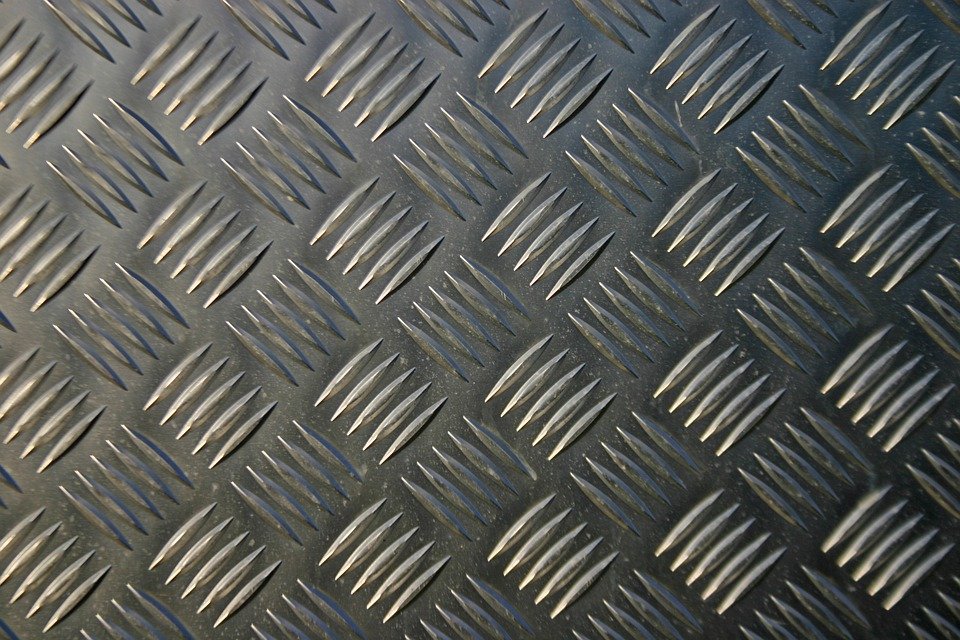
https://cdn.pixabay.com/photo/2020/09/15/21/44/metal-5574787_960_720.jpg


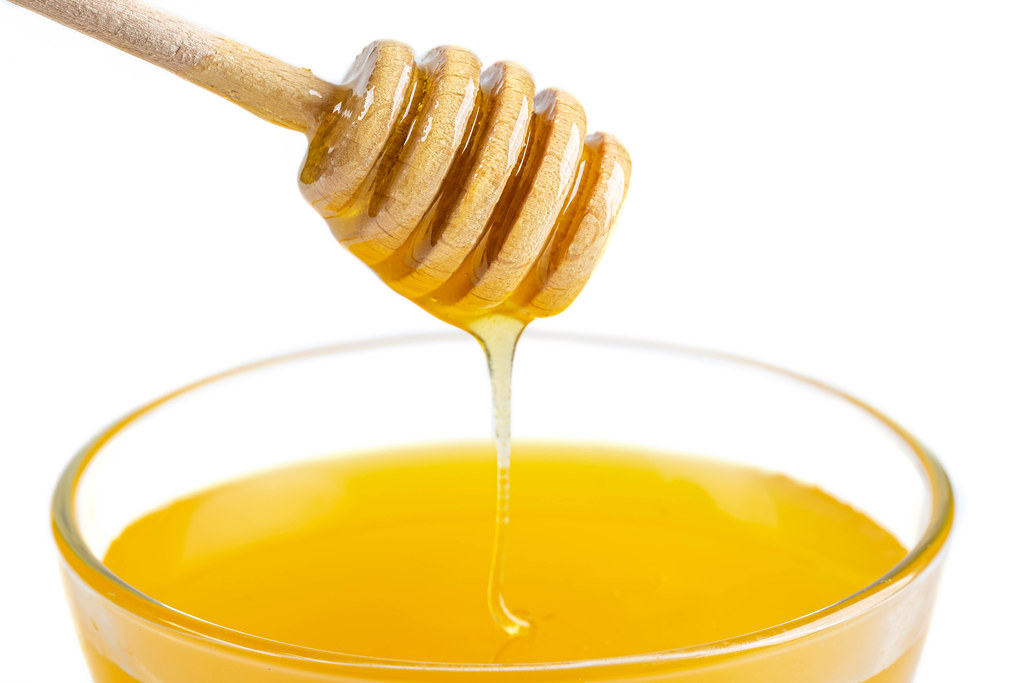
https://live.staticflickr.com/65535/50178145263_9107016fc8_b.jpg


https://upload.wikimedia.org/wikipedia/commons/thumb/e/e0/Carbon-monoxide-elpot.png/617px-Carbon-monoxide-elpot.png


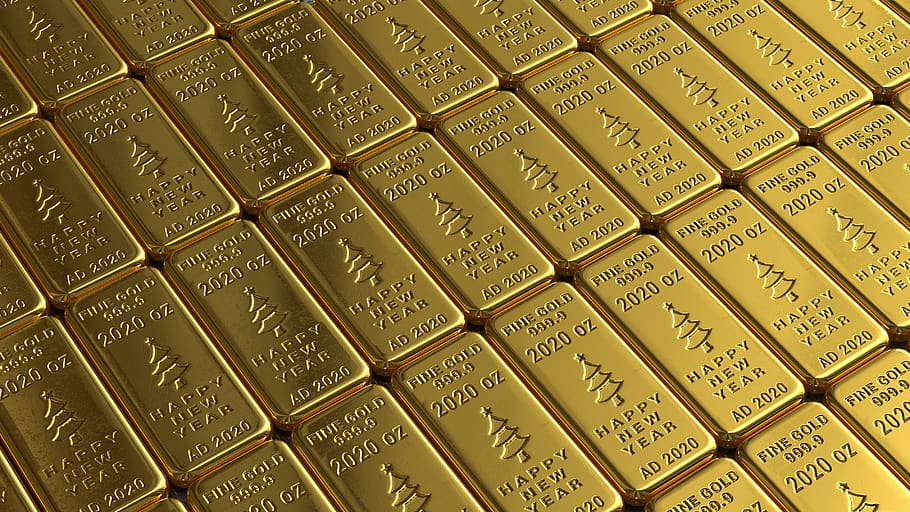
https://p1.pxfuel.com/preview/168/369/317/gold-bars-bullion-wallpaper-happy-new-year-2020.jpg


https://upload.wikimedia.org/wikipedia/commons/thumb/f/fd/Orange_juice_1.jpg/720px-Orange_juice_1.jpg


https://p0.pikist.com/photos/246/489/industry-smoke-chimney-pollution-exhaust-gases-industrial-plant-environmental-protection-ulm-smog-thumbnail.jpg


Thursday, 12 August 2021

Pulse/Heart rate TASK!

 So this is my teach class for the day. We were learning about Pulse/Heart rates. We had to do a series of things to see which gets the highest and the lowest rate. We did this is pairs and I was with Kiarah. One funny part was when Kiarah slipped trying to catch the ball. Anyways she was ok at the end. I hope I get to do this is the future. ENJOY! 


On the bottom is a photo of the watch we used to see our heart/pulse rate.


Carefully read and understand this recording and planning guide so you are systematic in scientific thinking, experimenting, recording and interpreting. 


Follow logically through each section so you are thorough in your science investigation steps. 


Complete each section with details needed so you have carefully logged your project...and so an outsider can know and understand too.


1

My science investigation TOPIC: 

Pulse Rates


2

My investigation question

Investigate the effect of different types of activity on the heart rate/pulse rate.


1.Which action/activity resulted in the highest heart rate? 

2.Which action/activity resulted in the lowest heart rate?

3.Why do you think this might be?


Hypothesis

-I think running as fast as possible on the spot will have the highest heart/pulse rate.

-I think that sitting down I would have the lowest pulse/heart rate.   

3

Background research and knowledge I will explore as a backdrop to my investigation


High blood pressure-120mmHg

Low blood pressure-80 mmHg


4

Aim of my investigation


5


STEP 1

Put on the watch on tight so that your heart/pulse rate is correct

STEP 2

Wait for your heart rate to go down


STEP 3

Then you do the activities for 30 seconds and see if you heart/pulse rate goes up or down


STEP 4


Write down the results 

STEP X


BOOM your done


6

My possible recording method


Data collection table

Name of the Activity

Length of Activity

Beat counted in 30 seconds

Heart Rate

mmHg

Sitting

30 seconds

100/95

95mmHg

Jogging on Spot

30 seconds

150/93

150mmHg

Throwing and Catching ball

30 seconds

119/109

109mmHg

Stretching

30 seconds

135/121

121mmHg

Star Jumps

30 seconds

120/118

118mmHg

Running as fast as possible on spot

30 seconds

119/160

160mmHg


7

Result: 

1.Which action/activity resulted in the highest heart rate?

   The activity that had my heart/pulse rate the highest was running


2.Which action/activity resulted in the lowest heart rate?

   The activity that my heart/pulse rate the lowest was just sitting down

3.Why do you think this might be?

I think that it happened because when you sit down you're relaxing your heart/pulse rate. When you're running it pumps it up.